You will need to contact your authorised reseller to purchase the ResDiary interface licence.
Every terminal that uses the Table Map will need to have a ResDiary licence.
The requirement for licensing ResDiary on each terminal that uses the Table Map is so that:
This information is sent back to ResDiary to assist with insights the next time the customer makes a reservation.
Open IPSUtils and close the entire suite.
The configuration file will need to be edited with the credentials provided by ResDiary.
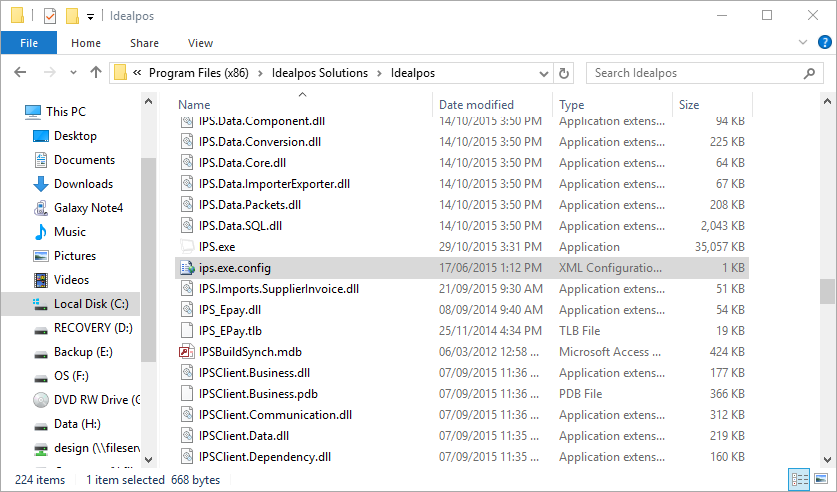
The file is located in the installation directory (C:\Program Files (x86)\Idealpos Solutions\Idealpos or C:\Program Files\Idealpos Solutions\Idealpos) and is named ips.exe.config.
The values that need to be edited are SecondSecret and DevelopmentRestaurantID.
The values which need to be modified have been highlighted below.
Note!
Ensure that the ConsumerKey, ConsumerSecret, SecondSecret and DevelopmentRestaurantID contain the required values supplied by ResDiary The Fork.
If these settings are blank and/or do not contain the required value, this integration will not work.
<?xml version="1.0"?>
<configuration>
<startup useLegacyV2RuntimeActivationPolicy="true">
<supportedRuntime version="v4.0"/>
</startup>
<appSettings>
<add key="ConsumerKey" value="XXXXXXXXXXXXXXXXX" />
<add key="ConsumerSecret" value="XXXXXXXXXXXXXXXXXXXXXXXXXXXXXXXXXXXX" />
<add key="OAuthEndpoint" value="https://au.resdiary.com/OAuth/V10a" />
<add key="ServiceBaseUri" value="https://au.resdiary.com/WebServices/Epos/v1" />
<add key="SecondSecret" value="XXXXXXXXXXXXXXXXX" />
<add key="DevelopmentRestaurantId" value="XXXX" />
<add key="ClientSettingsProvider.ServiceUri" value="" />
</appSettings>
</configuration>
Save the changes.
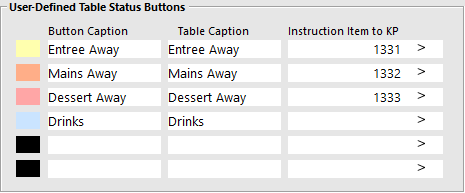
Go to Setup > Global Options > Restaurant Tab > User-Defined Table Status Buttons and create one for Drinks, Entrée, Main and Dessert.
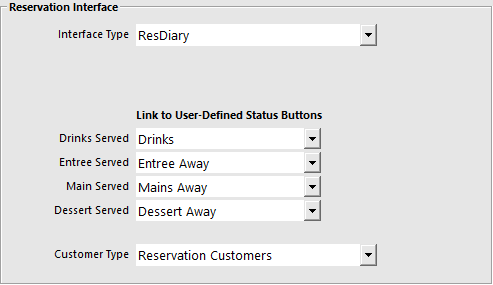
Go to Setup > Global Options > Interfaces > Reservations > Interface Type: ResDiary.
Use the drop-down menus to link the table status buttons.
Link the customer type to the type you want customers added to in the database.
Note: If you have not setup your User Defined Status Buttons first, you cannot link to them. You will need to create stock items first, then link them to the buttons before you can use them.
Go to Setup > Global Options > Reservations tab > Miscellaneous > Average Dining Time > Enter in minutes the value you want to use for your venue.

Go to Setup > Yes/No Options > Restaurant > Prompt for Covers > tick.

Go to Setup > Yes/No Options >Restaurant > Show Customer Names on Tables > tick.

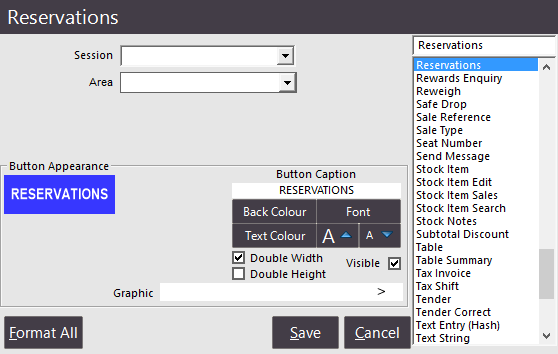
Go to Setup > POS Screen > POS Screen Setup > Layouts > Buttons > Select a blank tile > Function: Reservations.
The Session and Area drop-down selections do not work with ResDiary.
All table maps must contain unique numbers.
You cannot use the same table number on multiple maps.
Close Idealpos and restart it to initialise the connection to ResDiary.